Nick Reddan's macro index tools for Word
Background
Some years ago I developed approaches to speed up my own indexing using Microsoft Word. One of the key macro was one to generate an index tag so that people were indexed by family rather than first name. I have shared these macros on my website. Recently I have revisited indexing using Word and found my knowledge was quite limited. The indexing capability was much richer than I thought. However, accessing this rich capability is also much easier using macros.
Indexing using Microsoft Word inbuilt capability
Like all modern word-processors MS Word has powerful indexing capabilities. However, in their native form they may appear to be cumbersome to use. This may put people off but if you use the macros on this site the power to index is unleashed. You will be able index in a number of ways with the use of short-cut keys combinations.
You press a key combination and Word creates an index tag to build you indexes.
Extensions to produce the indexes you want
For genealogists an important issue is that highlighting and marking a person's name does not the index tag wanted. "John SMITH" will be indexed with the other names starting with "John" rather than with the "SIMTH" entries.
These macros solve this issue in two ways. You can have him either tagged as "SMITH, John" or as "SMITH: John". In the outputted indexed the differences are that the former repeats "SMITH," before all the smith entries and the latter has one "SMITH" entry with following indented entries for each forename(s). The former approach I denote as individual and the latter as family grouped.
There are macros included in this site that will do either type of family indexing. The choice is yours.
Sub indexes
Sometimes we want to have different sub-indexes. In publications you will often see a separate "Person" and "Place" index. In Word there are two ways to achieve this outcome. The crudest way is to use the groupings used above to put the SMITH family entries under SMITH with indented entries for James and John etc. To achieve this we use an index tag of the form "Person: SMITH: John". This produces an index with two groupings for "Person" and "SMITH" or the other families included in your document.
The more sophisticated approach is to use a sub-index flag. This gives an index tag of the form {XE "SMITH: John" \f "Person" }. When inserting the index into the document we include the flag the terms following '\f' in the tag. Word is a little weak in this area and only recognises the first letter of the flag term. Without further thought Word will index "Person" with "Place". To get around this shortcoming of Word we used differentiated flags such as "a Person" and "p Place". You are limited to 36 level one terms starting with A–Z and 0–9.
Changing you index structure
While you should make choices before you proceed to creating you indexes you choices are not necessarily final. Search and replace can be used in combination with some macros to convert one type of index to another.
The first thing you need to do is get rid of Word's conversion of quotes into smart quotes. To do this you need to change the settings under auto correct in two places. Go to File ribbon and the options sub-menu. The select proofing and Auto correct button. Then change the settings under the Auto correct and Auto correct as you type tags. There are two macros that turn this feature on and off "turnon_quote()" and "turnoff_quote()".
The system
To uses the macros and automate your indexing you need to download the ZIP file. Once downloaded and the files are extracted there are a couple ways to proceed. The easiest is to back up your normal.dotm or Normal.dotx by changing their name to "normal back.dotm" or "normal back.dotx" then extract the normal.dotm from the ZIP file to the folder of your templates. Alternatively, you can extract the other files in the ZIP file and import them into your normal.dotm file. The method of doing this is explained below.
What are these macro tools?
This document contains a number of index tools that allow you to manage indexing. One tool allows you to index names so that the family name appears first. Other macros allow you to have two level indexing where at any one time you can have up to ten first level index terms. The data for the currently used terms are stored in text files in the My Documents folder. Also, the all these tools index text inside text boxes. These macros will also work in Word for Mac the set-up is a little different. Click here for more information.
Some notation
We use the following notation to indicate keys or combinations of keys pressed.
| {enter} | The enter key. |
| {F1}, {F2} ... | The function key 1, function key 2 etc. |
| {ctrl} | The control (Ctrl) key. |
| {alt} | The alt key. |
| {alt}0150 | The number pad sequence 0150 is pressed while the alt key is held pressed. If you are using a laptop with no number pad this becomes {alt}{Fn}0150 where the function FN key is pressed in addition to the alt key. |
| {shift} | The shift key is pressed. |
| {ctrl}{shift}{space} | The space key is pressed when the control and shift keys are held pressed. |
| {ctrl}{shift}M | The M key is pressed when the control and shift keys are held pressed. |
The ribbon is the name given to the set of menus at the top of the window in Word 2007 and 2010.

The menus have titles, File, Home, Insert, References, Mailings, Developer and Add-Ins. My ribbons also include a couple of other headings associated with my PDF maker and OCR software.
Key assignments
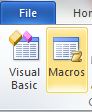
I have set up a macro that assigns macros "aa_setup_keys()". To run a macro go to the developer or view ribbon and press the "Macros" button.
Then select run for the macro "aa_setup_keys".
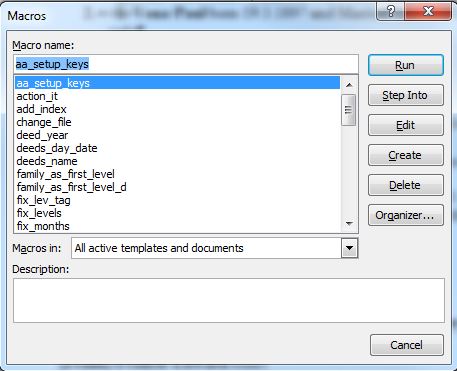
It will give you choices for the way higher level terms are implemented (groups or flagged
approaches) and how index entries for people are arranged (individuls or family groups).
Depending on your choices it will assign the appropriate macros to keys. You can also change your choices by re-running the macro. The macro assigns the following keys.
- simple family first macro – assigned to {ctrl}{shift}F
- family first + selection of first level term – assigned to {ctrl}{shift}G
- family first + with default first level term – assigned to {ctrl}{shift}H
- simple index the selected phrase – assigned to {ctrl}{shift}P
- index the selected phrase + selection of first level term – assigned to {ctrl}{shift}Q
- index the selected phrase + with default of first level term – assigned to {ctrl}{shift}W
- Insert index – assigned to {ctrl}{shift}I
A template to print out and put near you computer with the key assignment is here
Of course, you are free to assign any or no macros to the keys you want. The way to assign keys is demonstrated at Attachment A.
Family name indexing macros
As a family historian or any one indexing people we want John Smith and James Smith to appear close together in our index rather than being grouped with other Johns or other Jameses. Using the mark entry in the References ribbon by default John Smith is indexed to be near the other Johns. We can, of course, edit the index mark changing { XE "John Smith" } to { XE "Smith, John" }but this is very time-consuming. The better approach set out here is to use a macro to do the indexing in the way we want it with one key combination.
The simplest of the family name first index macros indexes "John SMITH" as "SMITH, John" or "SMITH: John". For ease of use it is attached to {ctrl}{shift}F. Then we need only select our name and then press the key combination {ctrl}{shift}F and we have the appropriate index tag inserted.
The next macros introduces a first level indexing term so that the macros indexes "John SMITH" as "SMITH: John" \f "a person" or as "Person: SMITH, John". Here "Person" is a first level indexing term which is selected form a list of first level terms that you create and edit using the macro. The list is stored in a text file in your "My Documents" or the default folder for word documents. For ease of use it is attached to the key combination {shift}{ctrl}G.
The next macro is a variation to the one above and the macros index "John SMITH" as "SMITH: John" \f "a person" or as "Person: SMITH, John". Where "a person" or "Person" is the first level 1 term in the text file. For ease of use it is attached to the key combination {shift}{ctrl}H.
Phrase or selection indexing macros
The simplest of the selection indexing tools just indexes the selection as itself. The macro is index_phrase() and for ease of use it is attached to the key combination {ctrl}{shift}P.
Similar to the family name indexing tools we introduce a first level index term using the index_phrase_l1 macro which indexes "Grace Park" as "Grace Park " \f "place" or as "Place: Grace Park" where "Place" is a first level term you can select and edit using the macro. For ease of use it is attached to the key combination {shift}{ctrl}Q.
The next macro is a variation to the one above and the iabove macro indexes "Grace Park" as "Grace Park " \f "place" or as "Place: Grace Park". Where "Place" is the first level 1 term. For ease of use it is attached to the key combination {shift}{ctrl}W.
Managing the first level term lists
These macros by which you select your first level terms also allow you to manage the first level terms by editing or adding to them up to the maximum allowed number of active terms, ten for each the family name and phrase lists. The first time any of the first level indexing macros is used it requests that you enter at least one first level term. You can add a set of ten if you like. The first term is the default applied when you press {enter} when the term selection menu is displayed.
You can have up to ten lists of first level terms active at one time. The macros allow you to make any of these lists default for either family or phrase indexing. You can also add lists and swap lists.
If at some later stage you want to change an existing first level term e.g. change "Person" to "Persons". You can do this using search and replace in the Word window. Search for "Person:" and replace with "Persons:". Before using the search and replace you need to turn off smart quotes using the macro "turnoff_quote()". After completing your search and replace you can turn smart quotes back on using teh macro "turnon_quote()".
Inserting indexes and sample output
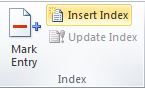
If you have only done simple idexing or have used the grouped approach to implement your first level indexing go to the Reference ribbon and choose Insert index from the Index area.
This inserts an index from the current cursor position. Usually we insert indexes near the end of the document.
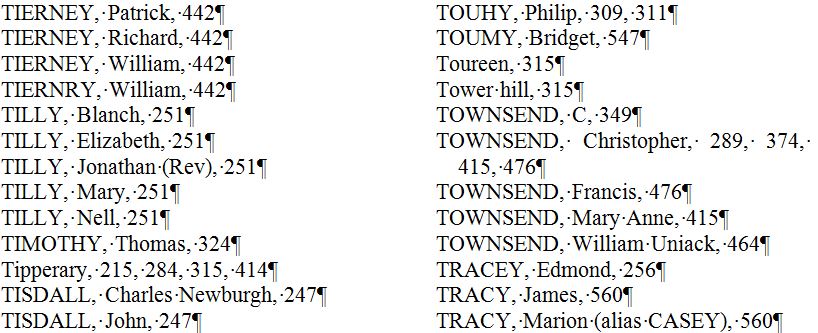
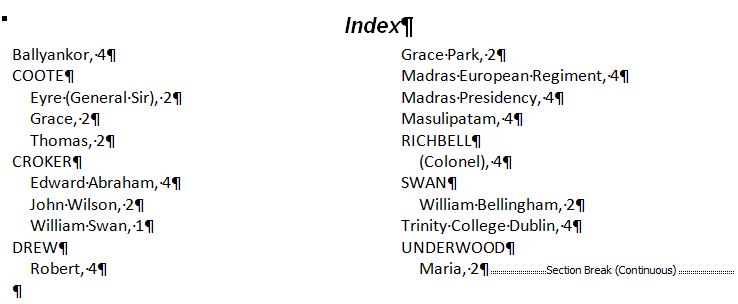
Below is an example of the output of a simple one level index from a book of over 500 pages.
Below is an example of the output of the start of a simple index from a short article where we use the grouped family name approach in the index.
As you mark more entries for your indexes you update the index by clicking inside the index area and pressing {F9}.
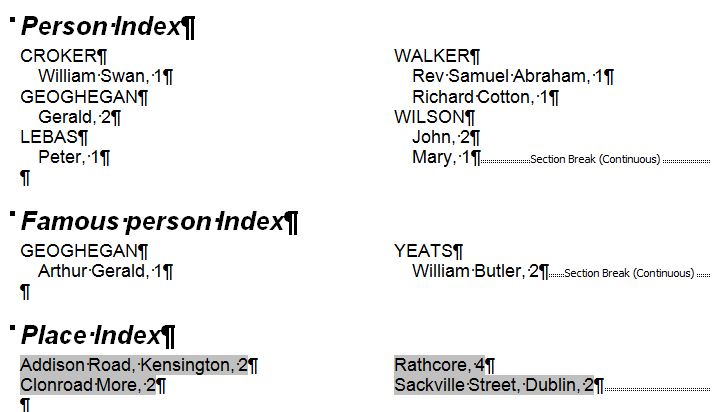
Below is an example of the output of the start of a two level index using the grouped approach from a short article.
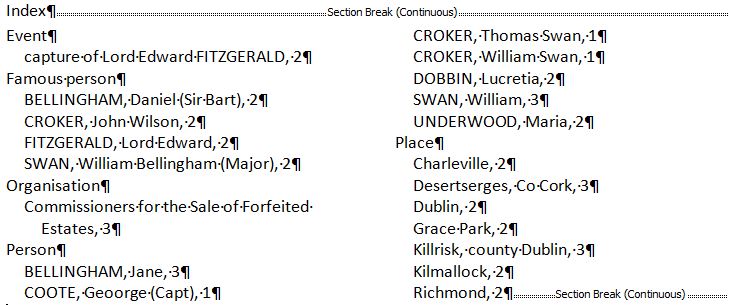
Below is an example of the output of the start of an index from a short article where we use two levels the first level using the flagged approach and, the family grouped approach or the phrase indexed at the lower levels.
Developer ribbon and importing elements
Then open the visual basic editor in Word. To do this you will need to do the following.
If the Developer ribbon is not visible then you need to make it visible by going to File, Word Options. Then tick the box next to "Show Developer tab in the Ribbon".
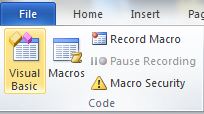
Figure 1 Shows the developer ribbon
Select the Developer ribbon. Then click on Visual Basic.
Figure 2 Open the visual basic window
Right click on anywhere in the left-hand window and choose import file.
Figure 3 Importing visual basic elements
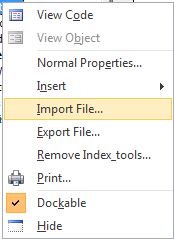
Then navigate to the folder where you extracted the files from the ZIP file. While there are 13 files in the ZIP file only seven will be visible for importing. Import each one. This will add six user-forms and one module to the visual basic window.
The final step if you do not want to use the default keys is attaching the macros to the short-cut keys. How to do this is explained in Attachment A.
Uninstalling
To remove these tools from your normal.dotm open the visual basic window as described above. Then double-click on userforms to display the two uderforms then right click on the element you want to remaove and click on remove in the sub-menu. Simmilarly, double click om modules to show the index_tool module then right click on it and click on remove in the sub-menu.
Conclusion
With these macros assigned to a key combination we can index our documents very quickly in a number of ways we control.
These are powerful tools that open many possibilities for indexing.
Other tips for using Word
My book "Stylish stories, my Word!" has lots of tips for improving you use of Word.
Attachment A – Assign a key to a macro
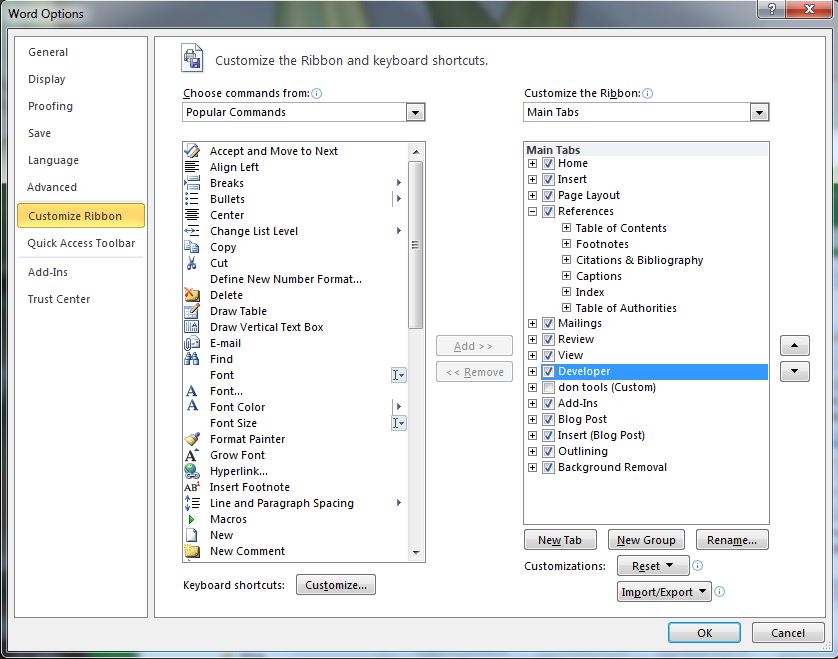
To attach the macros to a key we go to the file ribbon, Word options part of the ribbon and click on Customize Ribbon.
Figure 4 Attaching a macro to a key – step 1
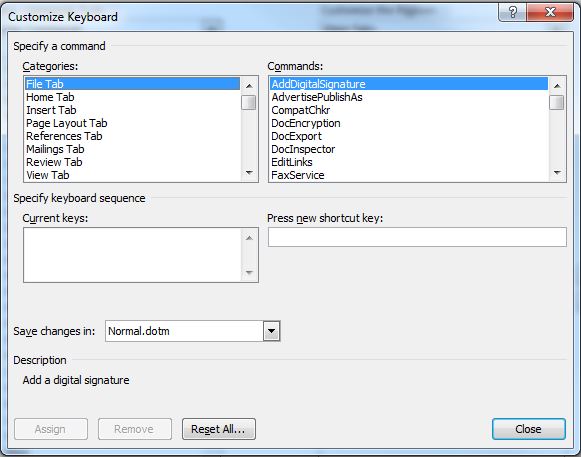
At the lower left of this dialogue box is a button following Keyboard shortcuts: Customize... clicking on this.
Figure 5 Attaching a macro to a key – step 2
Scroll down the categories box until you see Macros. Click on Macros and a list of the macros appears in the right hand box. Click on index_family_first and then the box under Press new shortcut key combination {ctrl}{shift}F.
Figure 6 Attaching a macro to a key – step 3
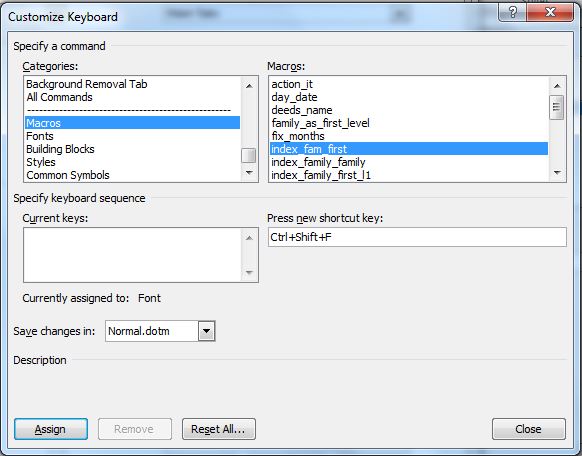
Pressing the key combination Control, Shift and F puts Ctrl+Shift+F in the short cut key box and pressing the Assign button assigns the macro to that combination of keys. Repeating this process with the other macros assigning it to Control, Shift and a letter.
With these macros assigned to a key combination we can index our documents very quickly.
Attachment B – Donate for use of package
If you like these tools please donate commensurate with your assessment of their usefulness.